


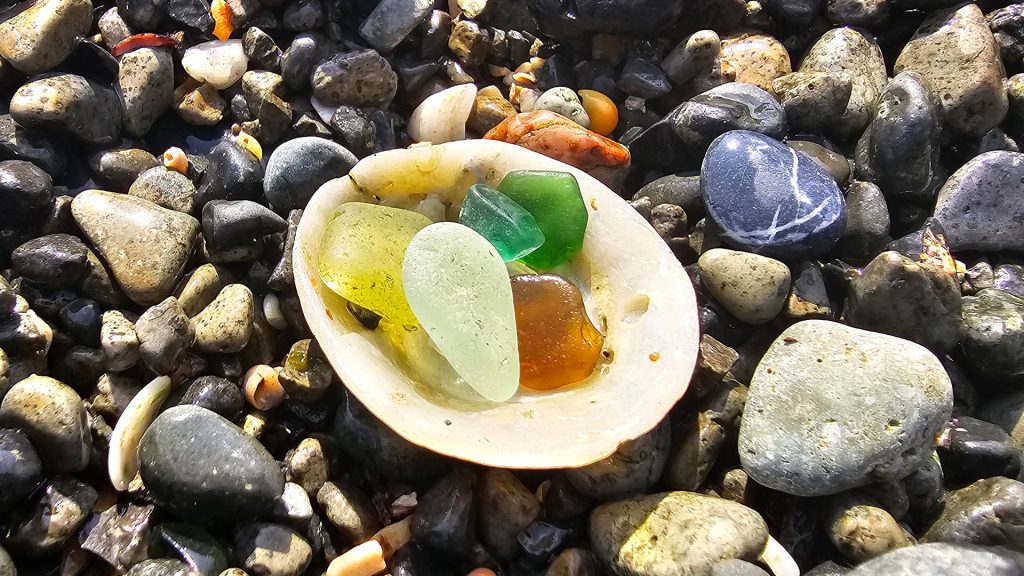
For many collectors, the allure of sea glass lies in its frosted, wave-worn patina – a testament to its journey through the ocean’s embrace. This natural frosting is often the most desired characteristic, but did you know you can also enhance its beauty further, either by intensifying that frosted look or by transforming it into a dazzling, gem-like polish? By using a rock tumbler, you can guide your sea glass to achieve the finish you desire, revealing the vibrant colours and hidden depths of each piece. This guide will walk you through everything you need to know to achieve either a beautiful frosted appearance or a stunning, high-gloss finish on your cherished sea glass finds, even if your collection primarily consists of smaller, naturally tumbled pieces.
Frosted vs. Polished: Understanding the Aesthetics
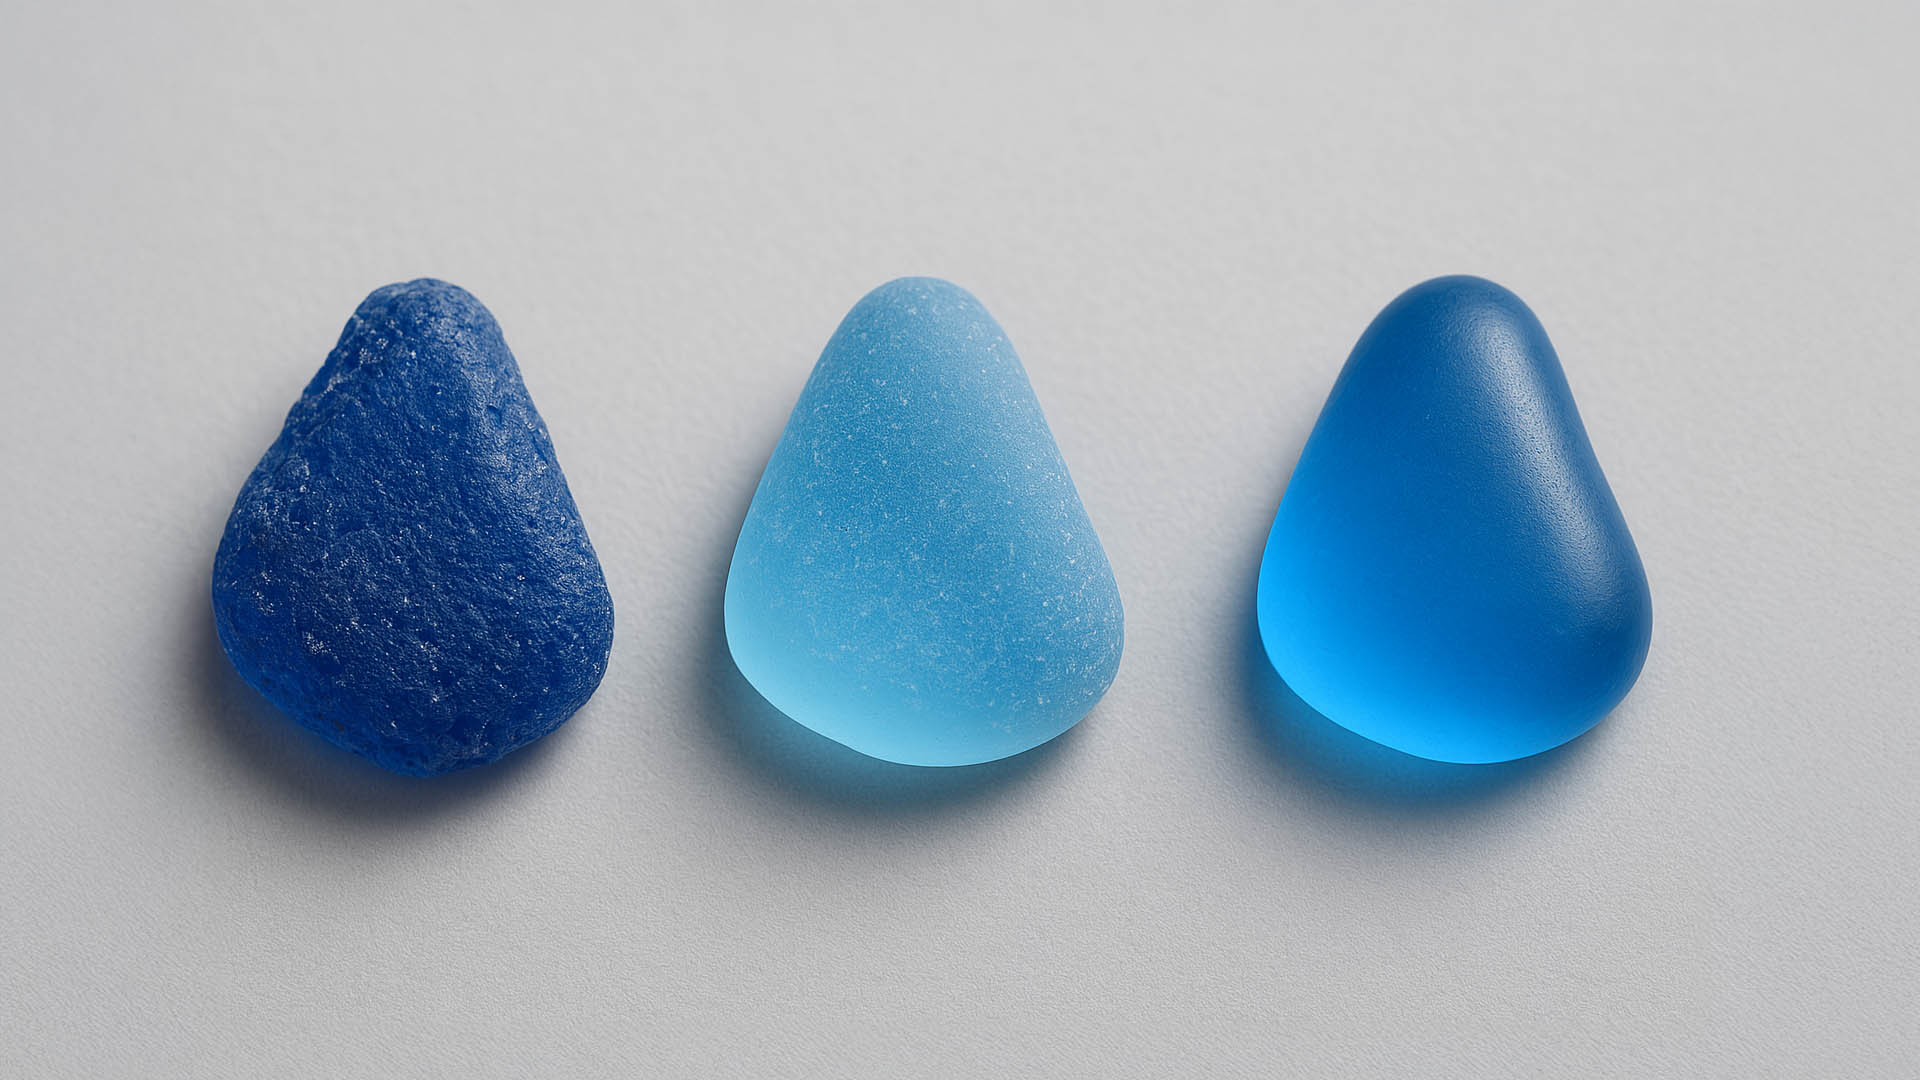
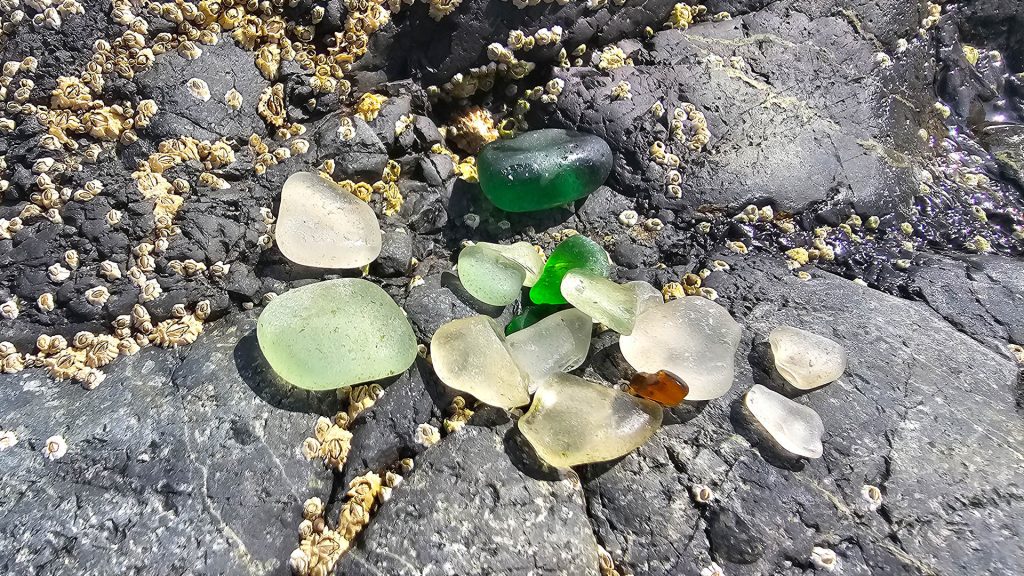
The image above beautifully illustrates the journey sea glass can take:
- Rough Landscape Glass: How many pieces might start, with sharp edges and a rough surface.
- Frosted Glass: Achieved naturally by years of tumbling in sand and water, or artificially with just a few days in medium grit in a tumbler. This look retains the classic matte, opaque appearance.
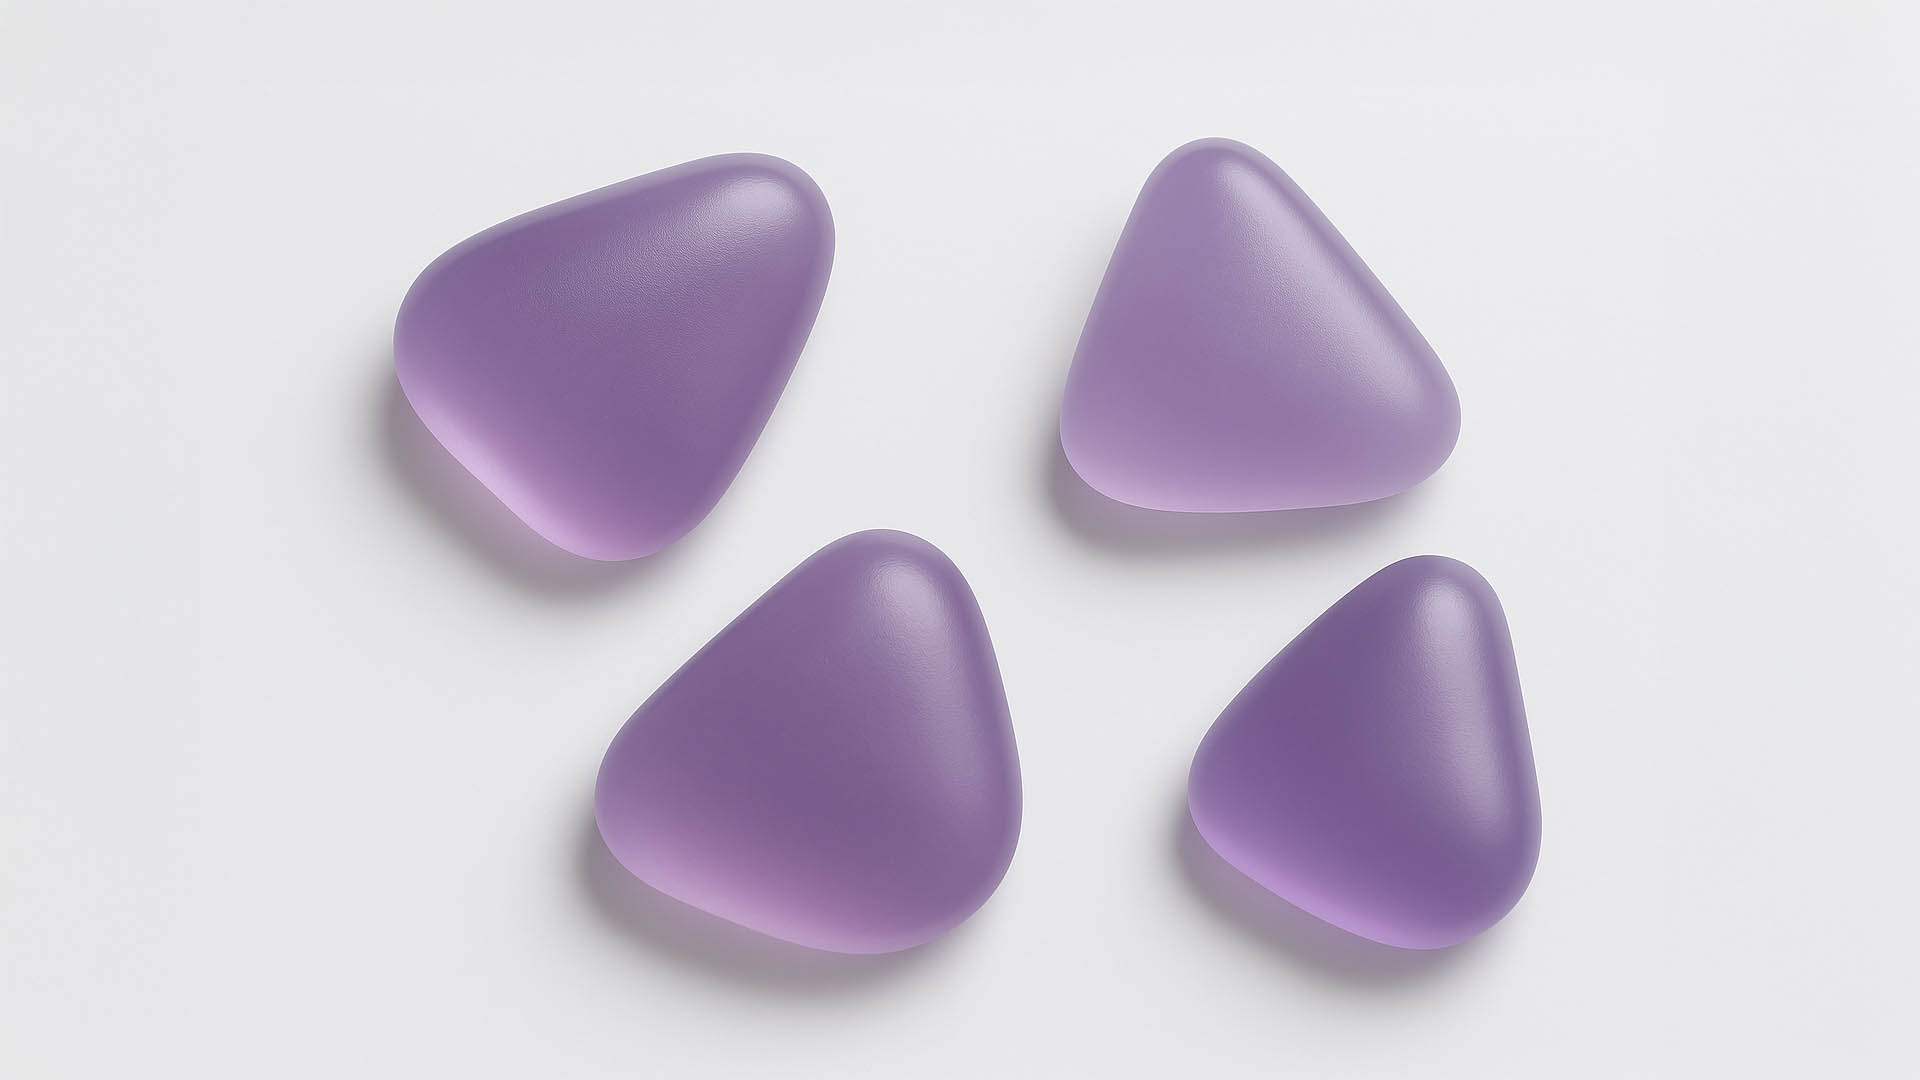
- Polished Glass: Achieved by continued tumbling through progressively finer grits and a final polishing compound, resulting in a clear, reflective, and vibrant surface.
Both frosted and polished sea glass have their unique charm and applications. Your preference will guide the tumbling process.
Why Polish or Frost Your Sea Glass? Unveiling Hidden Beauty
Choosing to tumble your sea glass allows for various artistic expressions:
- Vibrant Colours (Polished): Tumbling to a polish brings out the true, deep colours of the glass, making blues bluer, greens greener, and revealing subtle hues you might not have noticed before, much like wet sea glass looks on the beach.
- Enhanced Frosting (Frosted): Even naturally frosted pieces can benefit from a short tumble in medium grit to smooth any minor nicks or uneven frosting, resulting in a more uniform and satisfying matte finish.
- Smooth, Tactile Feel: Both processes help to smooth away any remaining minor imperfections or rough spots, resulting in glass pieces that are incredibly smooth and satisfying to touch.
- Gem-like Appearance (Polished): Polished sea glass can resemble precious gemstones, making it ideal for jewelry making, decorative displays, or unique art projects.
- Classic Charm (Frosted): Frosted sea glass retains its iconic, understated beauty, perfect for traditional displays or crafts where the natural, weathered look is desired.
- Personal Preference: Ultimately, it’s a matter of taste! Tumbling gives you the control to achieve the look you desire.
Is All Sea Glass Suitable for Tumbling? Selecting Your Pieces
While thicker pieces of sea glass are often considered ideal for tumbling due to their resilience, the good news is that even smaller, naturally tumbled pieces can be successfully processed to either a frosted or polished finish. Given that many shores, like those with extensive pebble beds, naturally break down and smooth glass into smaller finds, adapting your technique for these beautiful little pieces is key.
- Size and Resilience: While larger, more substantial pieces might be easier to tumble without concern, smaller pieces can achieve fantastic results too! The critical factor for smaller or thinner pieces is ensuring ample cushioning within the tumbler (see the “Plastic Pellets or Ceramic Media” section below). Very thin or fragile shards might still be at higher risk of breaking.
- Avoid Cracks or Flaws: Regardless of size, glass with existing cracks or significant internal flaws may not withstand the tumbling process and could break apart.
- Colours and Clarity: For polished glass, clear, vibrant pieces often show the most dramatic transformation once shined. For frosted, all colors maintain their beautiful matte appearance.
- Surface Condition: Pieces with a relatively smooth surface already will require less initial grinding time, though all pieces will benefit from the full process.
What You’ll Need: Essential Tools and Supplies
Before you begin, gather your supplies. Having everything ready will make the process smoother and more enjoyable.
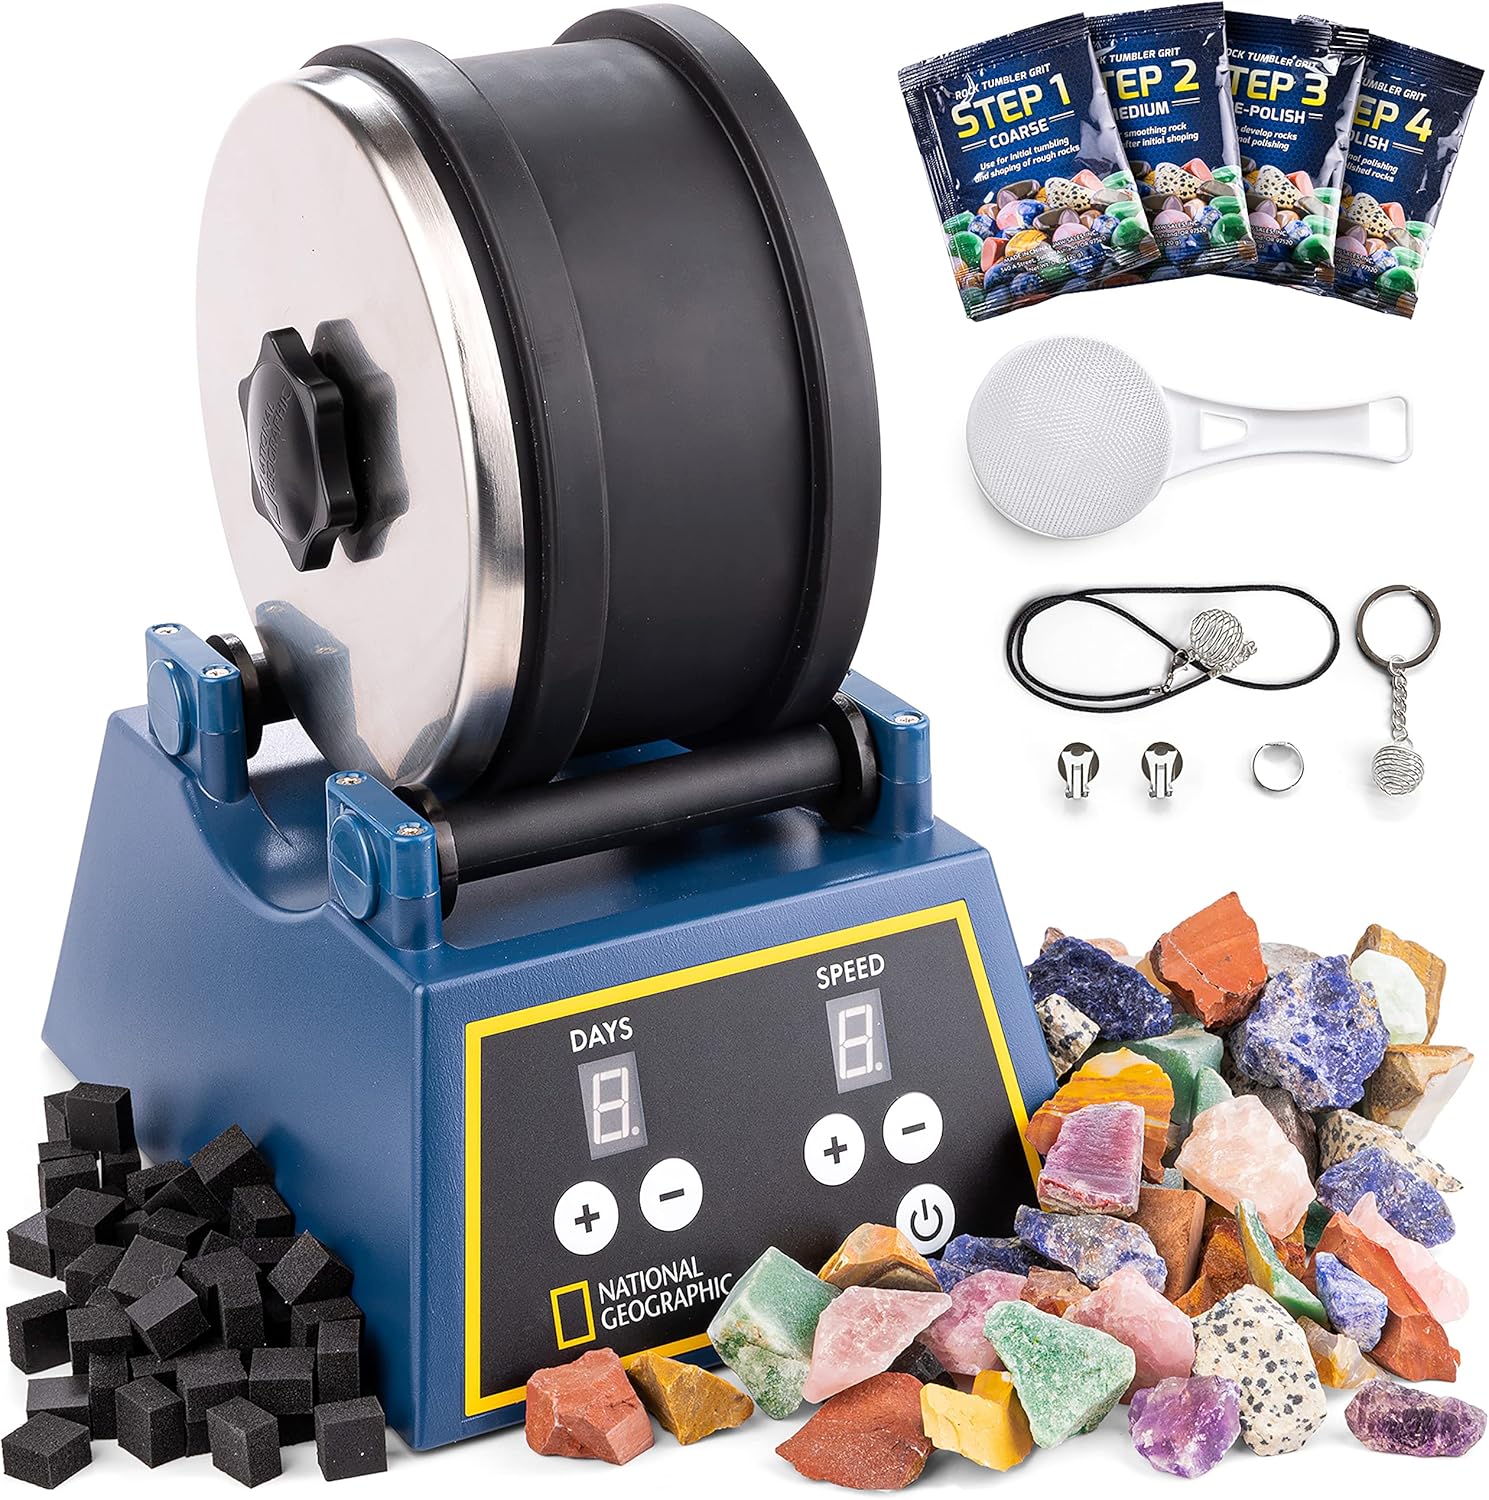
- Rock Tumbler: A rotary tumbler is ideal for sea glass. Its continuous, gentle rotation is perfect for rounding edges and achieving a high polish or a uniform frosted look. Ensure you have one with a barrel suitable for your batch size.
- Silicon Carbide Grit (various grades), Polishing Compound, and Plastic Pellets: Progressively finer grits are used to shape and smooth the glass, with polishing compound bringing out final shine:
- Coarse Grit (e.g., 60/90 or 80 grit): Removes sharp edges and major imperfections.
- Medium Grit (e.g., 220 grit): Refines the surface and helps achieve a consistent frosted texture.
- Fine Grit (e.g., 400 or 600 grit): Smooths micro-scratches in preparation for polishing.
- Polishing Compound (e.g., Cerium Oxide or TXP Aluminum Oxide): Delivers a glossy, mirror-like finish.
- Plastic Pellets or Ceramic Media: Use during every tumbling stage—coarse, medium, fine, and polish—to prevent breakage, cushion pieces, distribute grit evenly, and promote proper tumbling action. Particularly essential for smaller or delicate sea glass to avoid damage.
- Water: To create slurry with the grit.
- Safety Glasses and Gloves: Protect yourself from sharp edges and abrasive compounds.
- Colander or Mesh Strainer: For rinsing glass safely between stages.
- Dedicated Bucket: To collect used grit slurry. Never dispose of grit down household drains.
- Old Toothbrush or Stiff Brush: For scrubbing the glass and thoroughly cleaning your tumbler barrel between stages.
This professional rock tumbler offers a fun and easy way for both kids and adults to transform rough rocks into beautifully polished gemstones, and is also excellent for smoothing and polishing sea glass. Designed for durability with a quieter, leak-proof barrel and precise time and speed controls, this all-in-one kit comes complete with 1.36 kg of nine different types of rough gemstones, five jewelry fastenings, grit, a strainer, and an innovative GemFoam rock polisher.
Preparation (Optional, but Recommended for Rough Pieces)
- If you have particularly large pieces of sea glass or those with very sharp, unsafe edges, you might consider carefully reducing their size or blunting the sharpest points. Always wear safety glasses and thick gloves. You can place the glass in a sturdy canvas bag and gently tap it with a hammer.
- Thoroughly wash your raw sea glass to remove any sand, dirt, or organic debris before it goes into the tumbler.
Stage 1: Coarse Grind (7 days for Polishing Path, or if starting with very rough glass)
This is where the initial shaping and smoothing happen. The coarse grit works to remove major imperfections and round off any sharp edges. If your sea glass is already naturally frosted and smooth, you may be able to skip this stage if you only want to enhance frosting or go straight to polishing.
- Fill your tumbler barrel approximately 2/3 full with your prepared sea glass. Add plastic pellets or ceramic media to cushion the pieces and ensure proper tumbling action.
- Add the recommended amount of coarse silicon carbide grit (typically 2–3 tablespoons for a small barrel), plus water to create a thick slurry.
- Seal the barrel and tumble for 7 days, burping daily to release built-up gases.
- After tumbling, rinse thoroughly in a strainer, using a toothbrush for stubborn grit. Dispose of slurry in a bucket, never down drains.
Achieving the Frosted Look (Alternative Path from Stage 1 or directly from cleaned sea glass)
If your goal is a consistent, beautiful frosted finish, this is your key stage. If your glass is already quite smooth and naturally frosted, you might start here after initial cleaning, skipping coarse grit.
- Place cleaned sea glass in the tumbler barrel with plastic pellets or ceramic media to prevent damage and assist even motion.
- Add medium grit and enough water to cover the contents.
- Tumble for 3–7 days, depending on your preferred matte depth. Remember to burp daily.
- Rinse glass and clean barrel thoroughly before continuing or stopping the process here.
Stage 2 (for Polishing Path): Medium Grind (7 days)
This stage refines the surface of the glass, removing the larger scratches left by the coarse grit and making it smoother.
- Return the glass to the barrel with fresh plastic pellets or ceramic media for cushioning and tumbling support.
- Add medium grit and water to form a slurry.
- Tumble for 7 days, burping daily.
- Clean glass and barrel completely after this stage to avoid contaminating the next grit phase.
Stage 3: Fine Grind (7 days)
The fine grit works to prepare the glass for the final polish, smoothing out the tiny scratches from the medium grit and giving the glass a very smooth, almost hazy appearance.
- Place the clean glass back into the barrel with fresh plastic pellets or ceramic media.
- Add fine grit and water to the barrel.
- Tumble for 7 days, burping daily to release pressure.
- Clean everything meticulously to prevent grit carry-over into polishing.
Stage 4: Polishing (7 days)
This is the magical stage where your sea glass truly shines! The ultra-fine polishing compound buffs the surface to a high-gloss, mirror-like finish.
- Use plastic pellets or ceramic media to cushion the glass and help the polishing compound distribute evenly.
- Add polishing compound and water to the clean barrel.
- Tumble for 7 days, or longer for maximum shine. Burp daily.
- Final rinse reveals your glass in its polished glory.
This product set includes high-quality silicon carbide grit designed to achieve a dazzling polish on 8-10 lbs of rocks, complete with a measuring scoop and secure storage containers. To enhance tumbling, ceramic media is included to improve grit delivery, quiet noise, reduce rock breakage, and serve as a filler for smaller batches. Additionally, the kit introduces GemFoam, a unique and patent-pending polishing media that provides an unprecedented shine when added after the final grit cycle.

Troubleshooting Common Tumbling Issues
- Scratches After Polishing: Caused by leftover grit. Clean thoroughly between every stage.
- Glass Not Getting Shiny: May need more time, better cleaning, or more polishing compound.
- Chipping or Breaking: Increase plastic pellets or ceramic media to better protect fragile pieces.
- Barrel Leaks: Check lid gasket for proper seating and cleanliness.
Caring for Your Tumbled Sea Glass
Once tumbled, your sea glass requires minimal care. A gentle wipe with a soft cloth will keep it sparkling or beautifully frosted. Store it in a way that prevents it from scratching against other hard objects. These brilliant pieces are perfect for:
- Jewelry (pendants, earrings)
- Mosaics and art projects
- Display in clear bowls or vases
- Adorning shelves or windowsills
Conclusion
Tumbling sea glass is a rewarding process that allows you to transform your beachcombed finds into truly unique, sparkling gems or beautifully refined frosted pieces. While it requires patience and attention to detail, the stunning results are well worth the effort. Even with a collection of smaller, naturally tumbled pieces, you can achieve remarkable shine or enhance their inherent frosted beauty. So, gather your treasures, set up your tumbler, and prepare to unveil the hidden brilliance of your Mull sea glass!
Happy tumbling!
