


This step-by-step guide walks you through installing your Starlink Standard Kit—from unboxing to getting online. It’s written specifically for Mull’s terrain, where hills, trees, and remote locations can affect satellite visibility.
1. Unboxing and Assembly
Your Starlink Standard Kit includes:
- Starlink dish (with kickstand)
- Gen 3 router
- Starlink cable (15m)
- AC power cable (1.5m)
- Power supply unit
Assembly steps:
- Lift the kickstand and insert the dish mast securely.
- Plug one end of the Starlink cable into the dish (locking tab facing up).
- Route the other end to the router and plug it into port #1 (locking tab facing down).
- Connect the power cable to the power supply, then into the router.
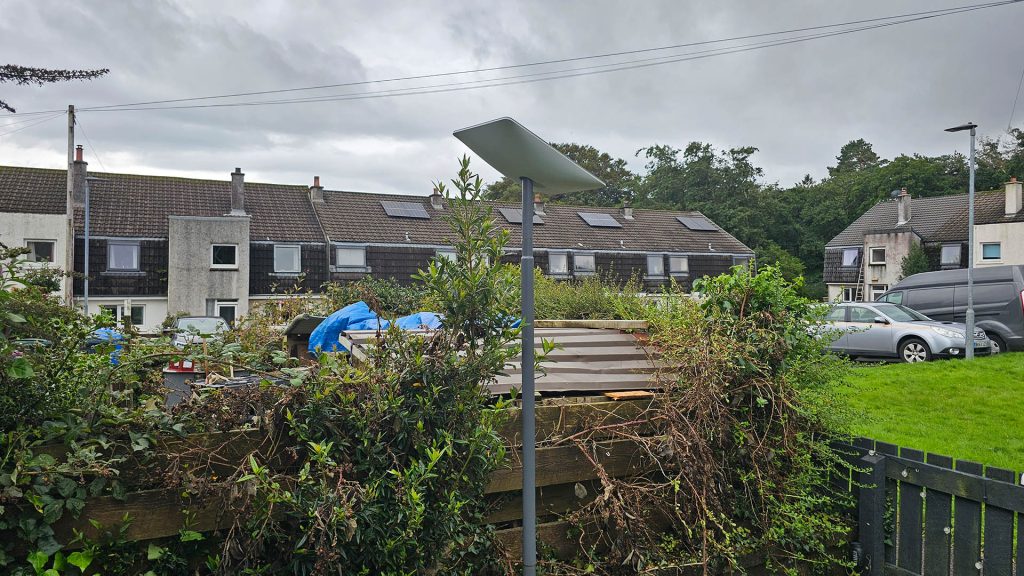
2. Finding the Right Location for Your Dish
Starlink requires a clear view of the sky to maintain satellite connectivity. Mull’s wooded areas and uneven terrain make this step critical.
Use the Starlink App:
Steps:
- Open the app and use the “Check for Obstructions” tool.
- Scan the sky from your intended dish location using your phone’s camera.
- If obstructions (trees, roof edges, poles) appear, relocate the dish or consider elevated mounting.
Mounting tips for Mull:
- Use the kickstand to tilt the dish for better alignment.
- If ground-level visibility is poor, install on a roof, wall, or pole using Starlink’s mounting accessories.
3. Aligning and Connecting
Once placed, your dish will auto-align to connect with satellites overhead. For best results:
- Use the Alignment Tool in the app if prompted.
- If alignment is within ±5°, no alert will appear, your dish is correctly positioned.
4. Getting Online
Steps:
- Connect to the default Wi-Fi network named “STARLINK”.
- Open the app → Settings → Router → Rename your network and set a password.
- Monitor the router light for status:
- Flashing white: Connecting
- Solid white: Online (light turns off after 1 hour)
- Red: No internet after 20 minutes
- Violet: Bypass mode (requires factory reset)
Once connected, your dish may download firmware updates automatically. These are essential for performance and security.
5. Improving Wi-Fi Coverage Indoors
While the Starlink Gen 3 router provides stable connectivity, its signal range is limited, especially in larger homes or properties with thick stone walls, which are common on Mull. In setups where the router is placed upstairs, coverage downstairs can be weak or inconsistent.
To extend coverage reliably, I recommend using a mesh Wi-Fi extender. I personally use the TP-Link RE550, positioned downstairs to relay the signal from the Starlink router above. This setup ensures strong, dual-band coverage across multiple floors and helps eliminate dead zones.
The TP-Link RE550 offers ultra-wide coverage up to 1,115 m² (12,000 sq. ft.), making it ideal for large homes and multi-floor setups. It delivers fast, stable AC1900 dual-band Wi-Fi (600 Mbps on 2.4 GHz and 1300 Mbps on 5 GHz), supports EasyMesh for seamless whole-home coverage, and works with any router or access point. Three high-gain external antennas ensure strong signal distribution, while its Gigabit port allows wired device connection or AP Mode conversion. Setup is simple with a smart signal indicator, one-touch WPS, and the TP-Link Tether app.

For best results:
- Place the extender where it still receives a solid signal from the router—ideally halfway between the router and the area with poor coverage.
- Avoid placing it near metal surfaces, microwaves, or thick stone walls that can interfere with signal strength.
- Use the TP-Link app or web interface to configure and monitor performance.
This configuration works well for Mull homes with split-level layouts or stone construction, and it integrates seamlessly with Starlink’s network

